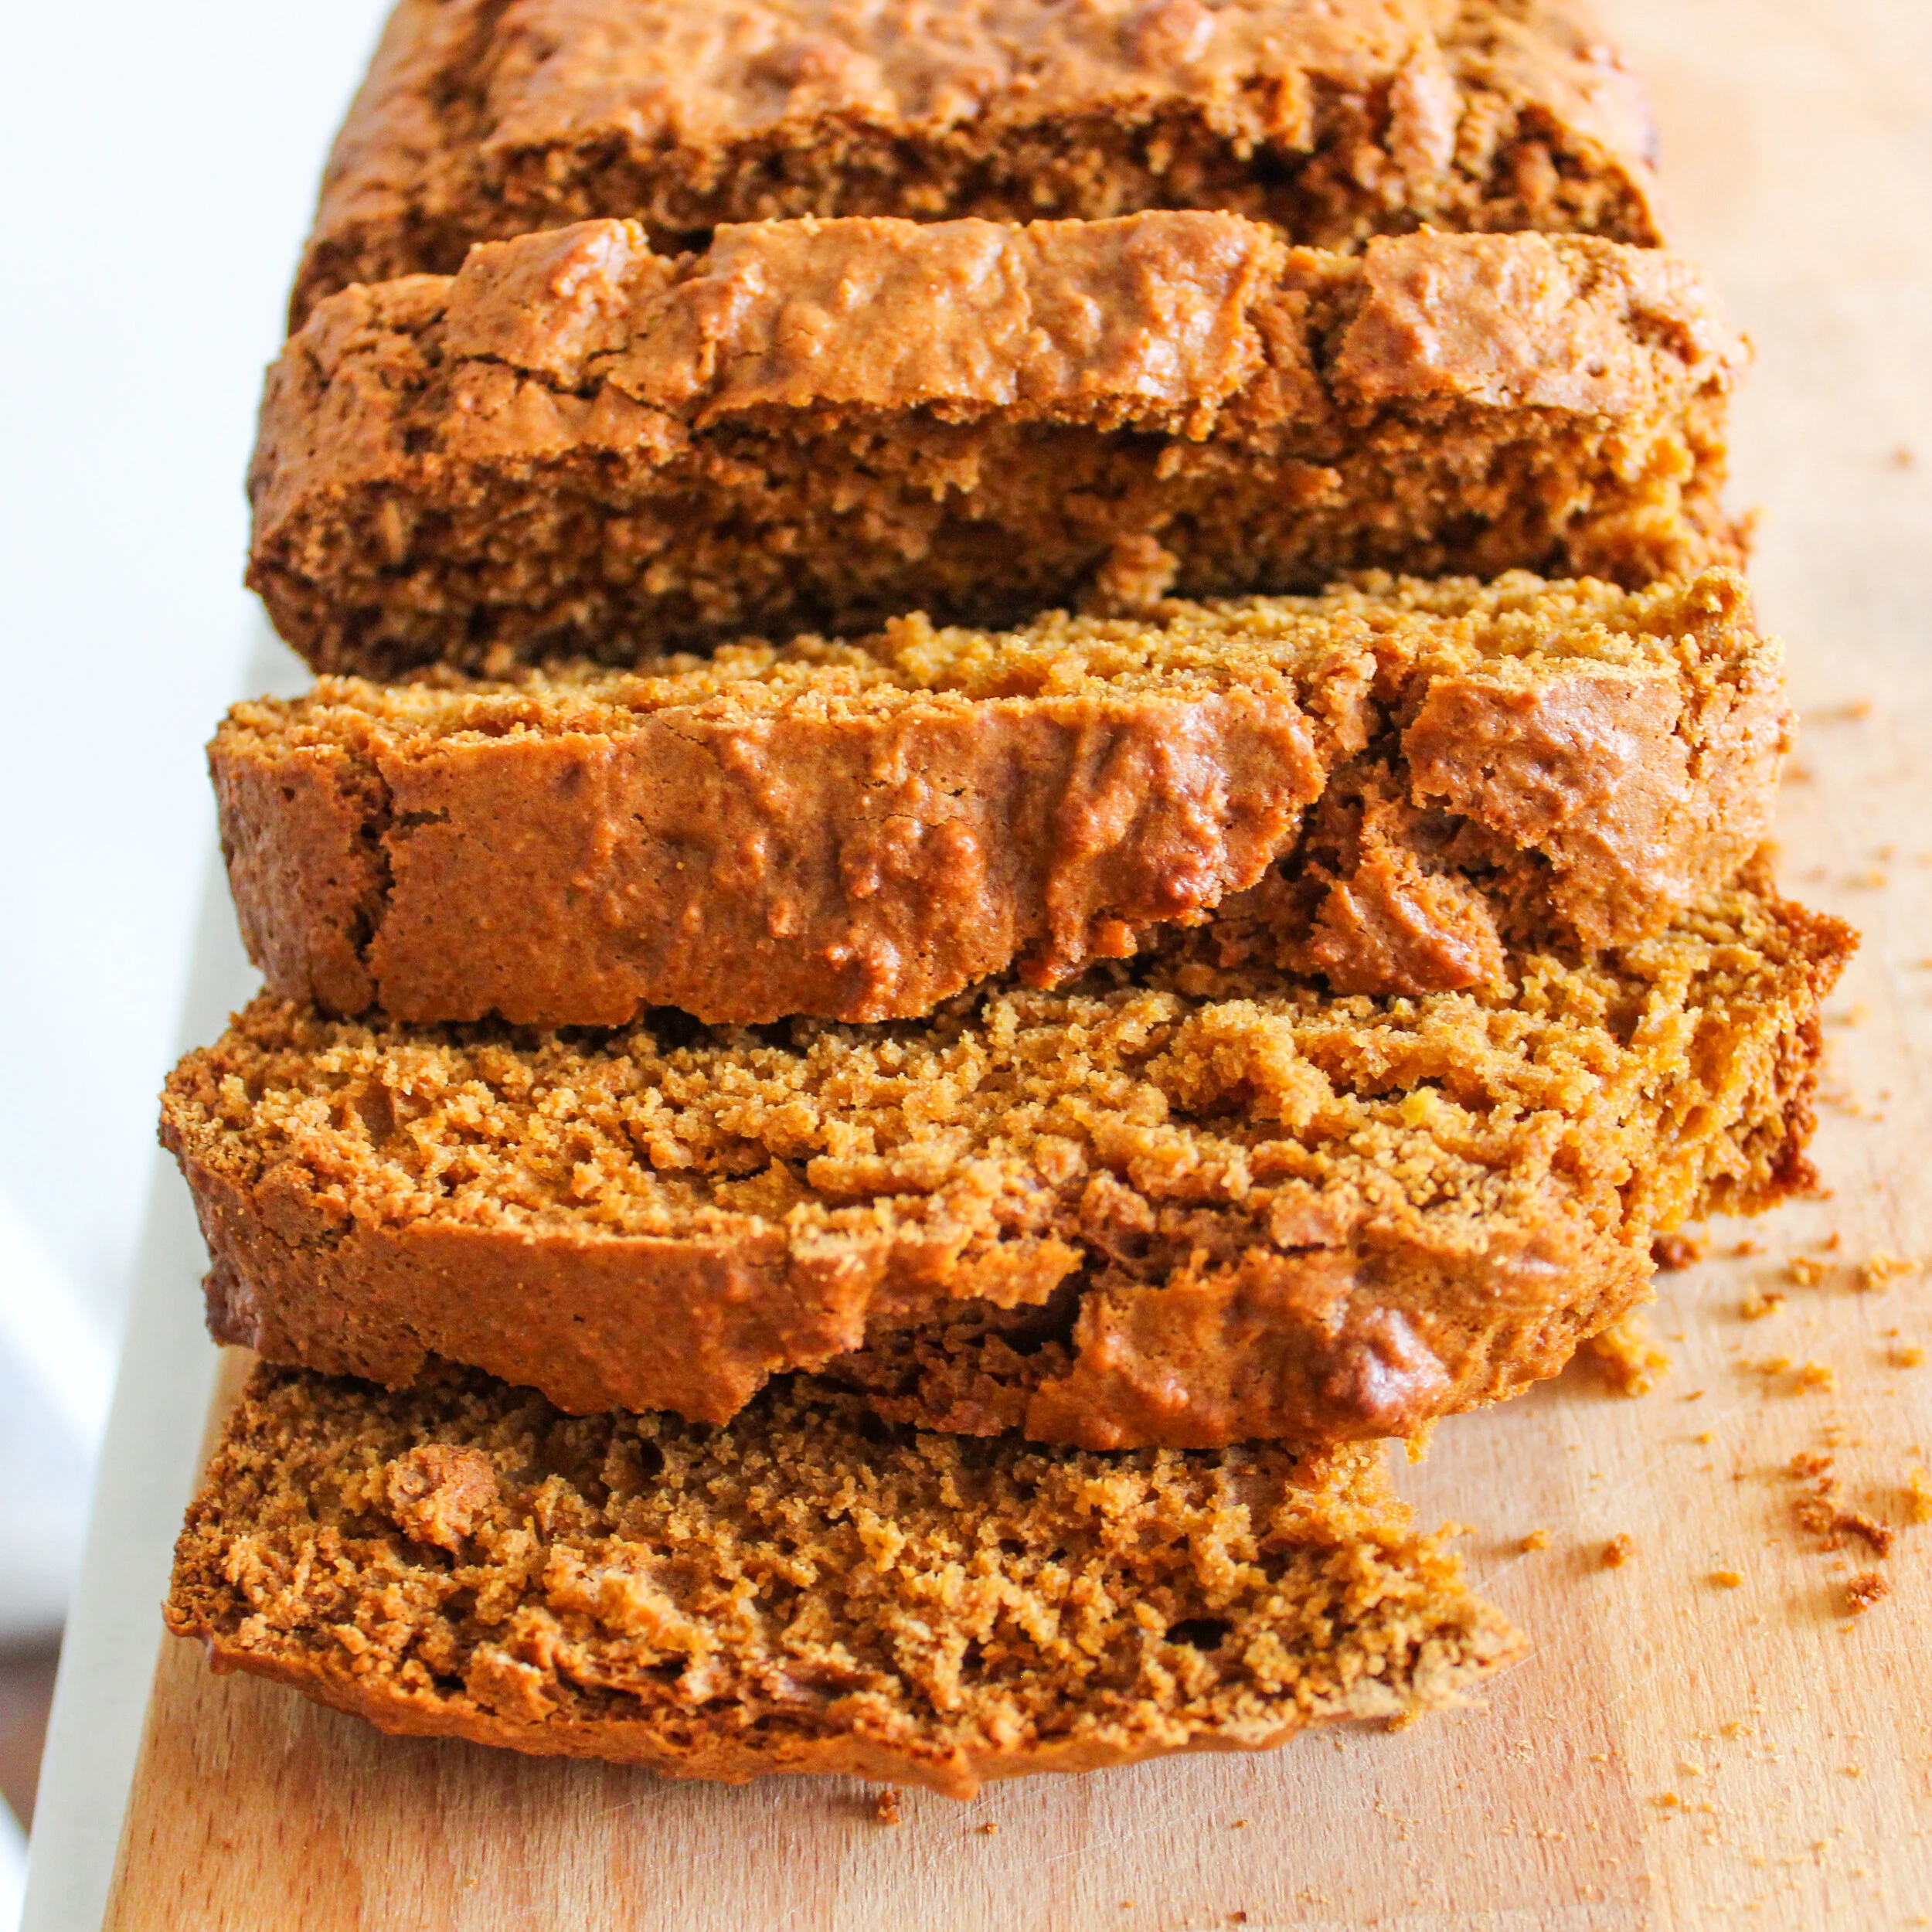
Vegan and Gluten-Free Baking Tips
Note: I mention a few brands in this article that I truly love! Nothing is sponsored content.
Gluten-free and vegan baking can be intimidating, especially if you haven’t dabbled in it much. After months of nibbling on one too many crumbly cookies and wimpy cakes, I can confidently say I now have a few tricks up my sleeve that guarantee success with gluten-free and vegan baking. As you test your own baking skills more, you’ll open yourself up to a whole new world of delicious treats, no flour or animal products needed!
Here are the six tips and techniques that I use in my vegan and gluten-free kitchen.
1. Add Xanthan gum to gluten-free flour so it holds together
Gluten is a protein in flour that probably does a lot of things, but when it comes to baking it’s job is to hold baked goods together. So, if you are baking gluten-free, your all-purpose flour substitute won’t have that natural binder. Xanthan gum is a ‘thickening' powder that replaces gluten - that way so you don’t end up with crumbly cookies that fall apart.
When you’re baking gluten-free make sure you add 1/4 teaspoon of Xanthan gum per 1 cup of gluten-free flour. Some gluten-free flours already have Xanthan gum included though, so read the ingredients to see if already in there.
2. Choose the right gluten-free flour for baking
I’ve found that brown rice flour is an excellent all-around replacement for all-purpose flour in my baking. But of course, you’ll want to try out different gluten-free flours and decide which you like best! When you find the right brand for your taste, stick with it and you’ll never find yourself uninspired to make your favorite treat.
There are so many different types of flours and many different brands to experiment with. Some of the well-known baking brands like Bob's Red Mill or King Arthur Flour make gluten-free flours. They each consist of a blend of different flours like rice flour, potato flour, tapioca, etc. You may find that you like the blended mixes, or you’re like me and find consistency with just a singular ingredient. Try them all and see what you like!
3. Replace eggs with flax meal
Eggs add richness to baked goods, and they’re also a binder that holds the batter together. If you’re vegan, flax eggs in baking will be your new best friend. All you have to do is combine 1 tablespoon flax meal + 3 tablespoons water in a small cup or bowl. Let the mixture sit at room temperature for about 10 minutes and voila! You’ve got a vegan ‘egg’ for your next recipe.
4. Choose the right vegan butter when baking
There’s a variety of vegan butters out there that can be used for baking and cooking. For baking, make sure you use vegan butter that comes in the stick form, not the ones in tubs. The butter in tubs is typically formulated to be spreadable and has more of a ‘whipped’ texture, so they’ll contain added water which makes them more fluffy. That added water can mess up your recipe, so go with the vegan baking sticks instead! Personally, I love using Earth Balance vegan butter.
5. Measure, measure, measure
Oh, did I mention to measure?
Always make sure you are using exact measurements when baking. It’s not a guessing game! ‘Eyeballing’ a cup or a tablespoon of any ingredient can mess up your recipe even if it’s a little bit off. If you can, measure in grams for an even more precise result. Baking is a science experiment, and luckily a lot of that science has already been figured out for us! Now’s not the time to freestyle.
6. Check the ingredients on your non-dairy milk substitutes
Non-dairy milk is a great replacement for animal-based milk! When using non-dairy milk as a substitute, choose the most natural version you can find, and always go with unsweetened. Read the ingredients, since a lot of brands add thickeners, sugars, and other unnecessary additives that your recipe doesn't need. I pretty much exclusively bake with almond milk, but test a few different milks to find your favorite. And don’t forget to shake the carton before using it since nut-based milks tend to separate.
Let me know if you try these tips or have any tips of your own! Check out my blog for recipes and even more tips while you’re here, and be sure to tag me on Instagram when you make a recipe!


