Homemade Honey Marshmallows
Homemade Honey Marshmallows
Making marshmallows at home can seem intimidating, but it’s a lot easier than you think! This recipe shows you how to make homemade honey marshmallows from scratch. You’ll never want to buy them from a store again.
I’ll be honest about something…I don’t love marshmallows. Marshmallows are one of those foods that I 100% prefer to make at home rather than buy at the store, because store bought marshmallows have always tasted kind of bleh to me. But homemade marshmallows, on the other hand? That’s a different story.
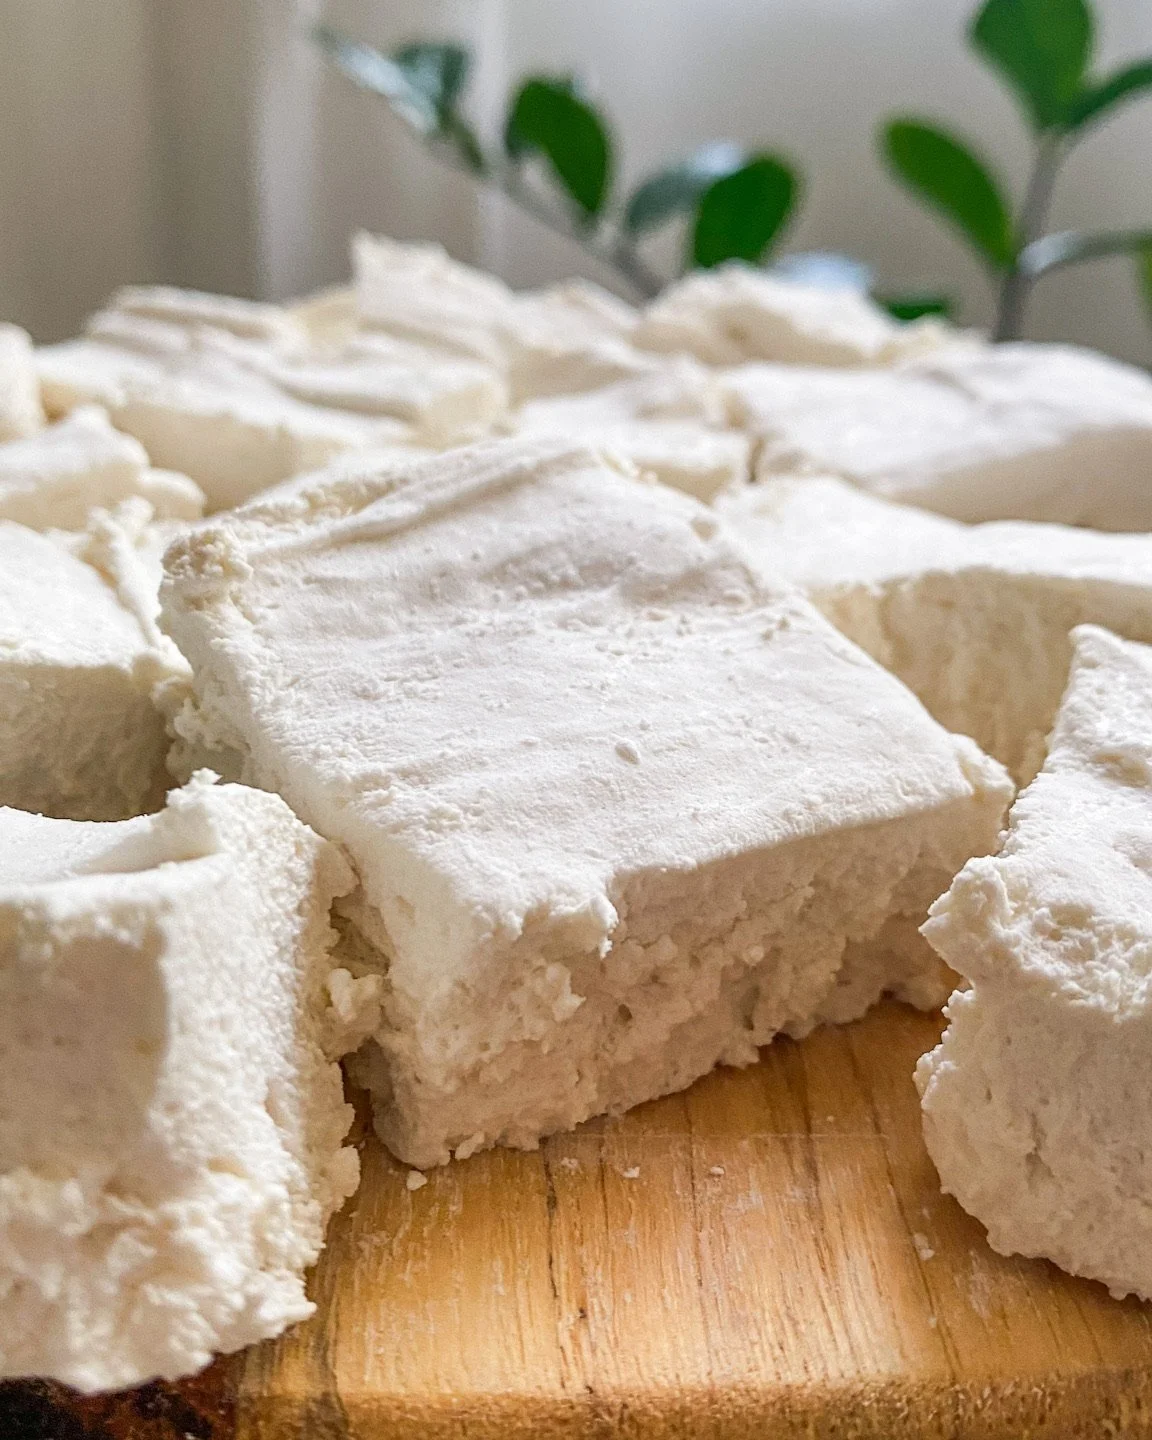
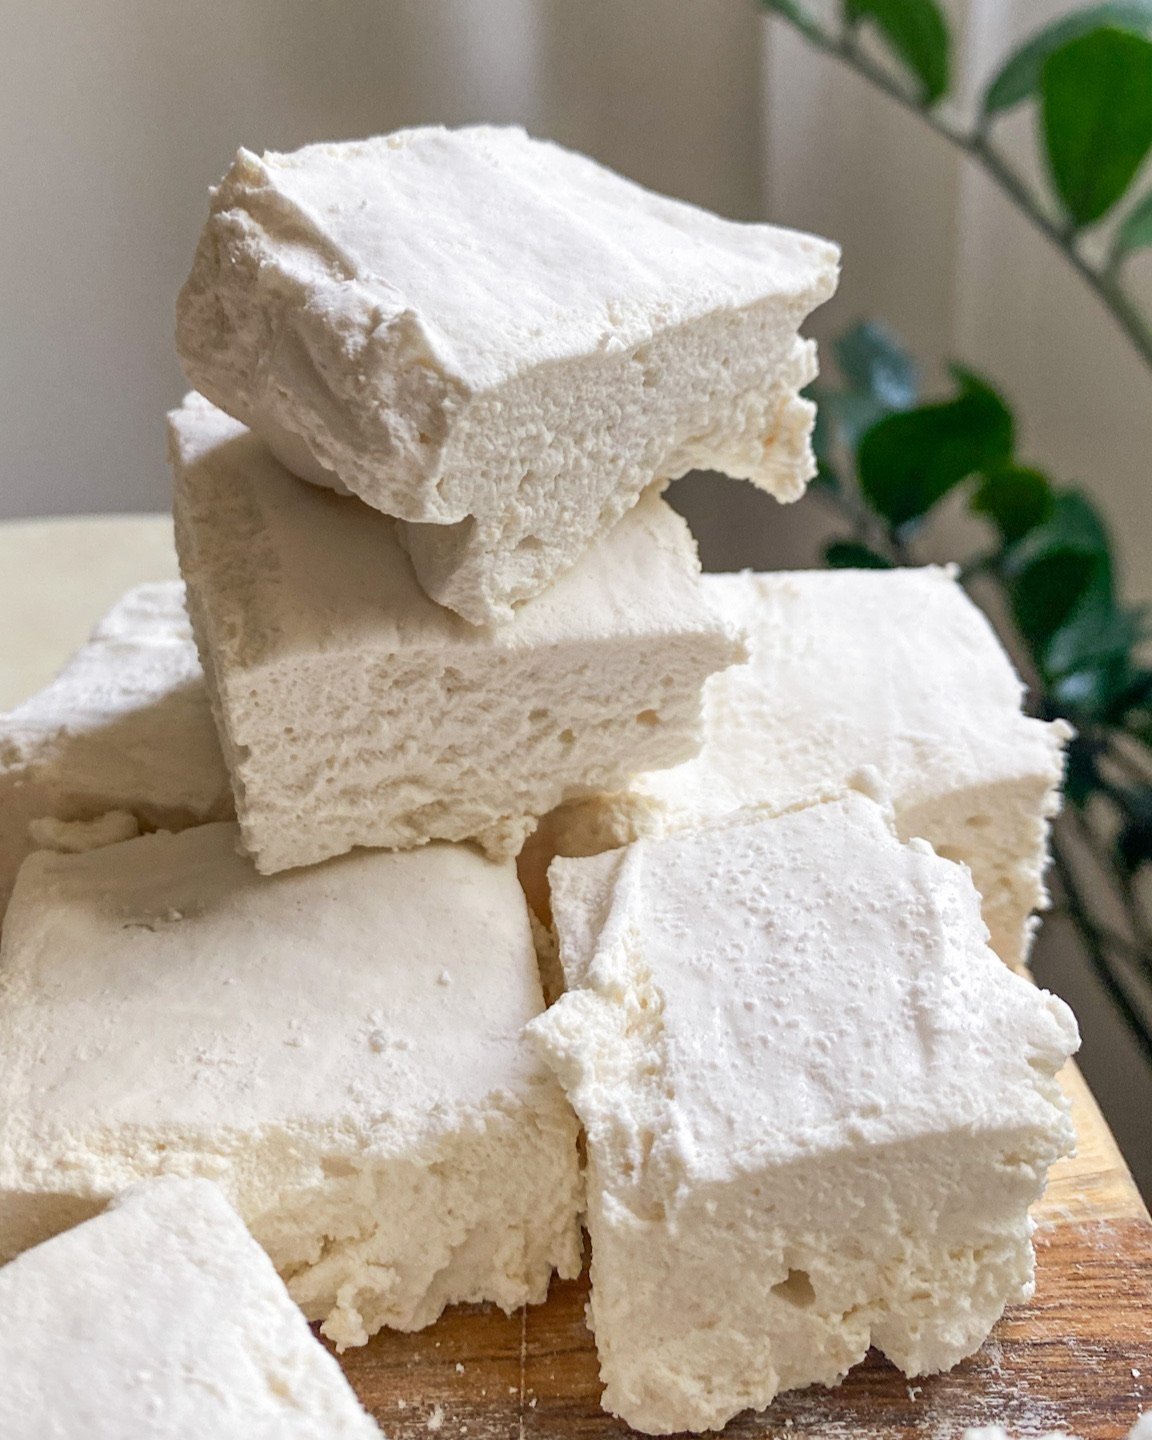
The pillowy soft, melt-in-your-mouth goodness of homemade marshmallows is just on another level. That homemade taste and texture is something that store bought brands just can’t replicate. Once you have homemade marshmallows for the first time, I know you’ll taste the difference!
Still don’t believe me? Then I KNOW that this homemade marshmallow recipe is definitely for you!
While store bought marshmallows are readily available in grocery stores, there's nothing quite like the satisfaction of this homemade version that you make in your own kitchen. Making marshmallows at home is a simple yet rewarding process. You’re gonna love it, trust me!
A quick note about the ingredients
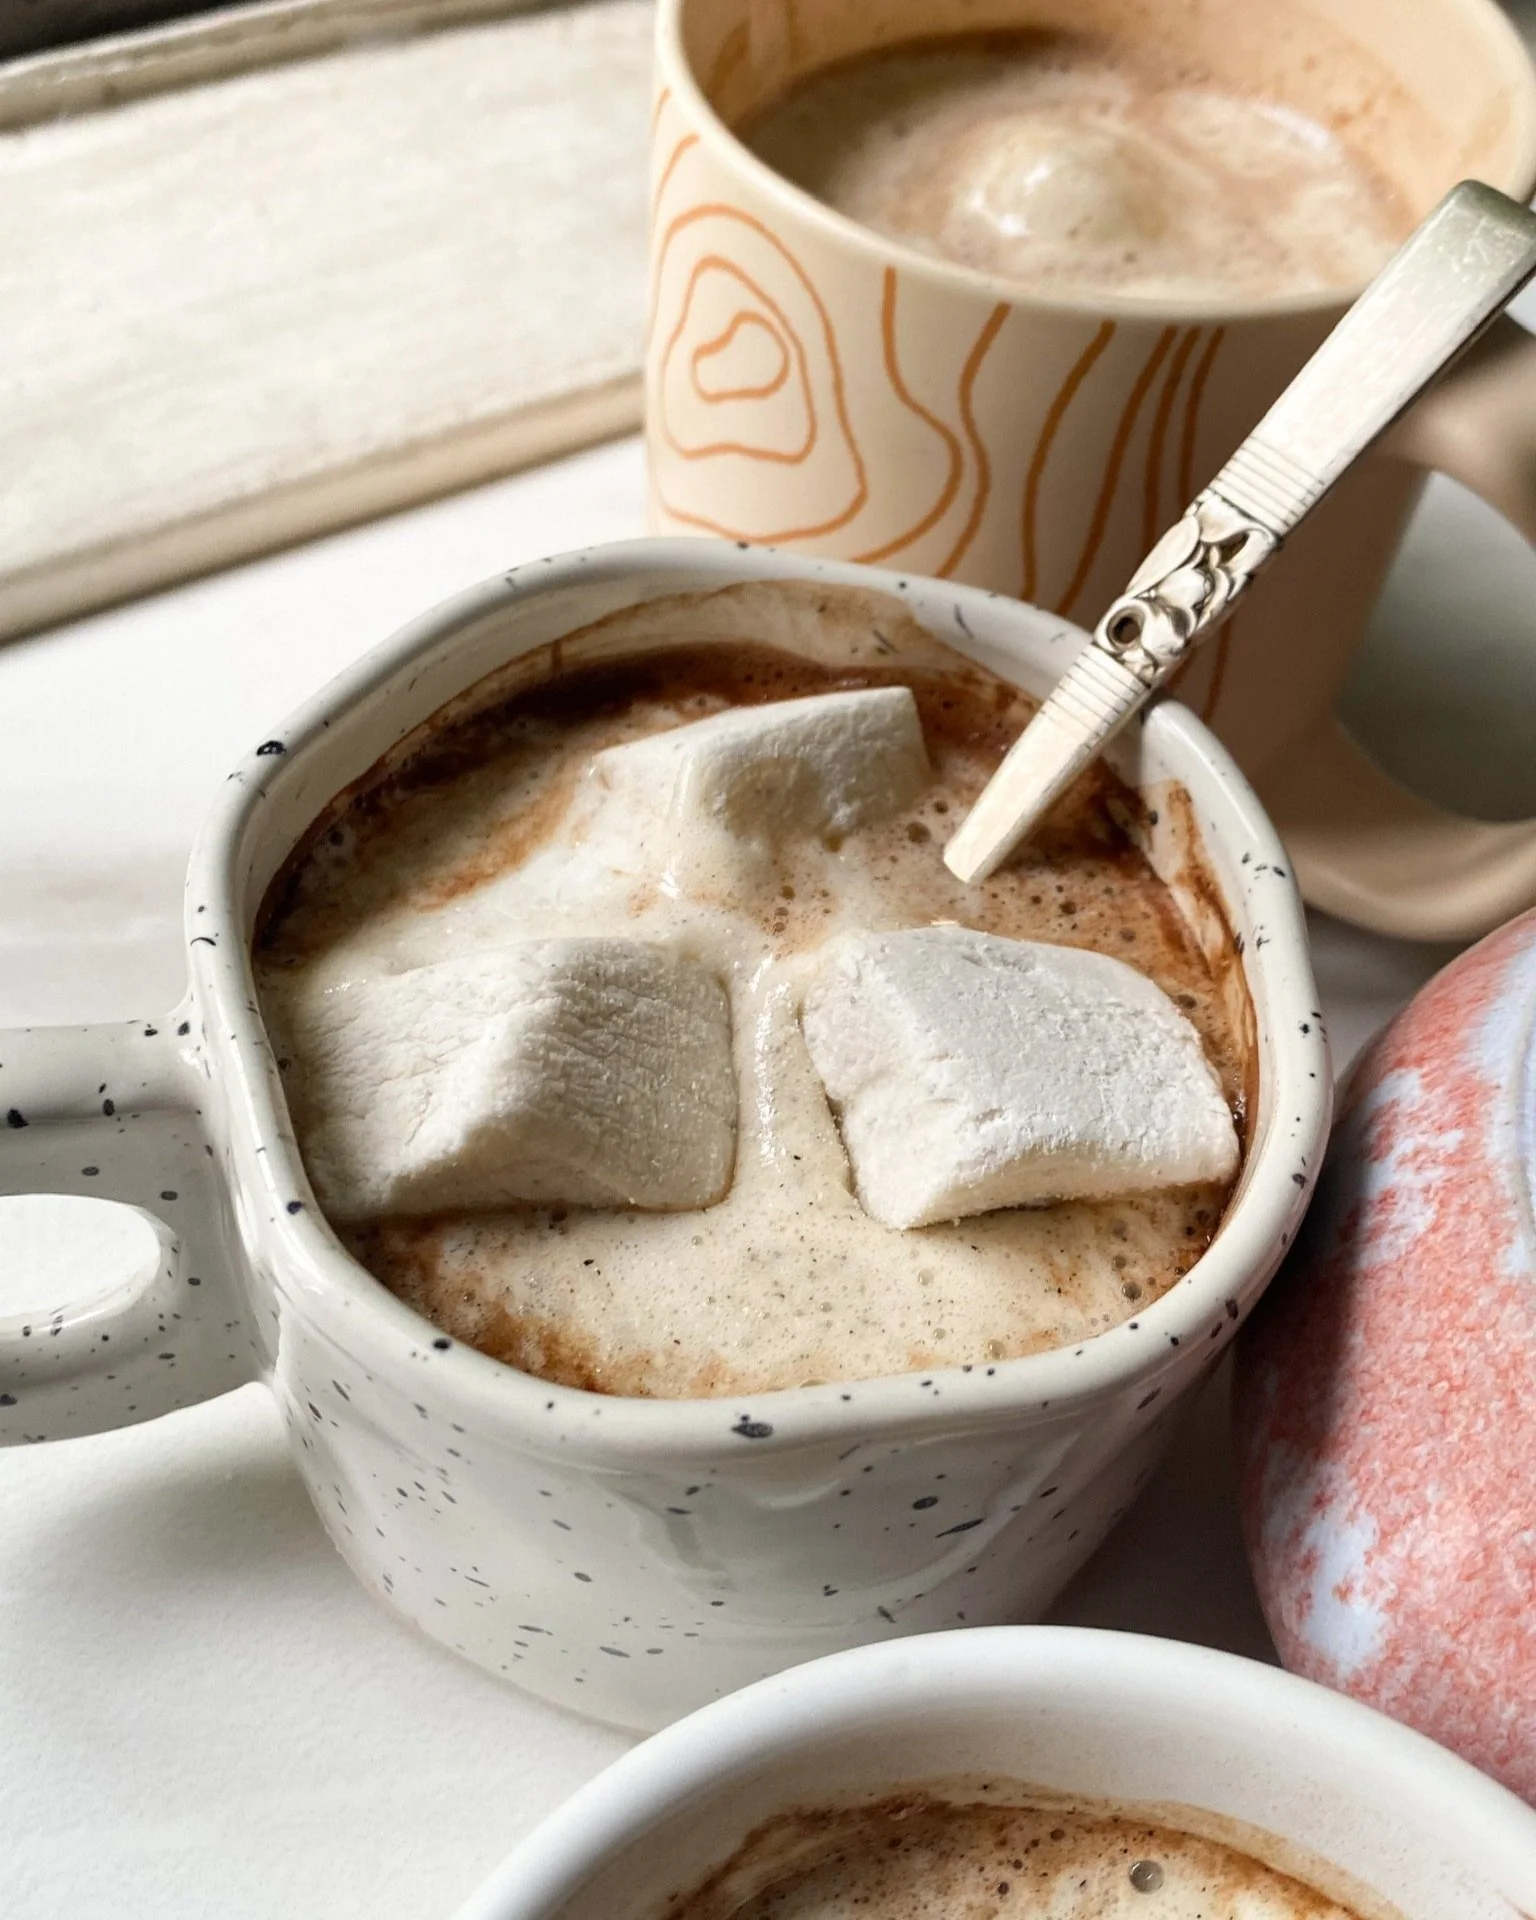
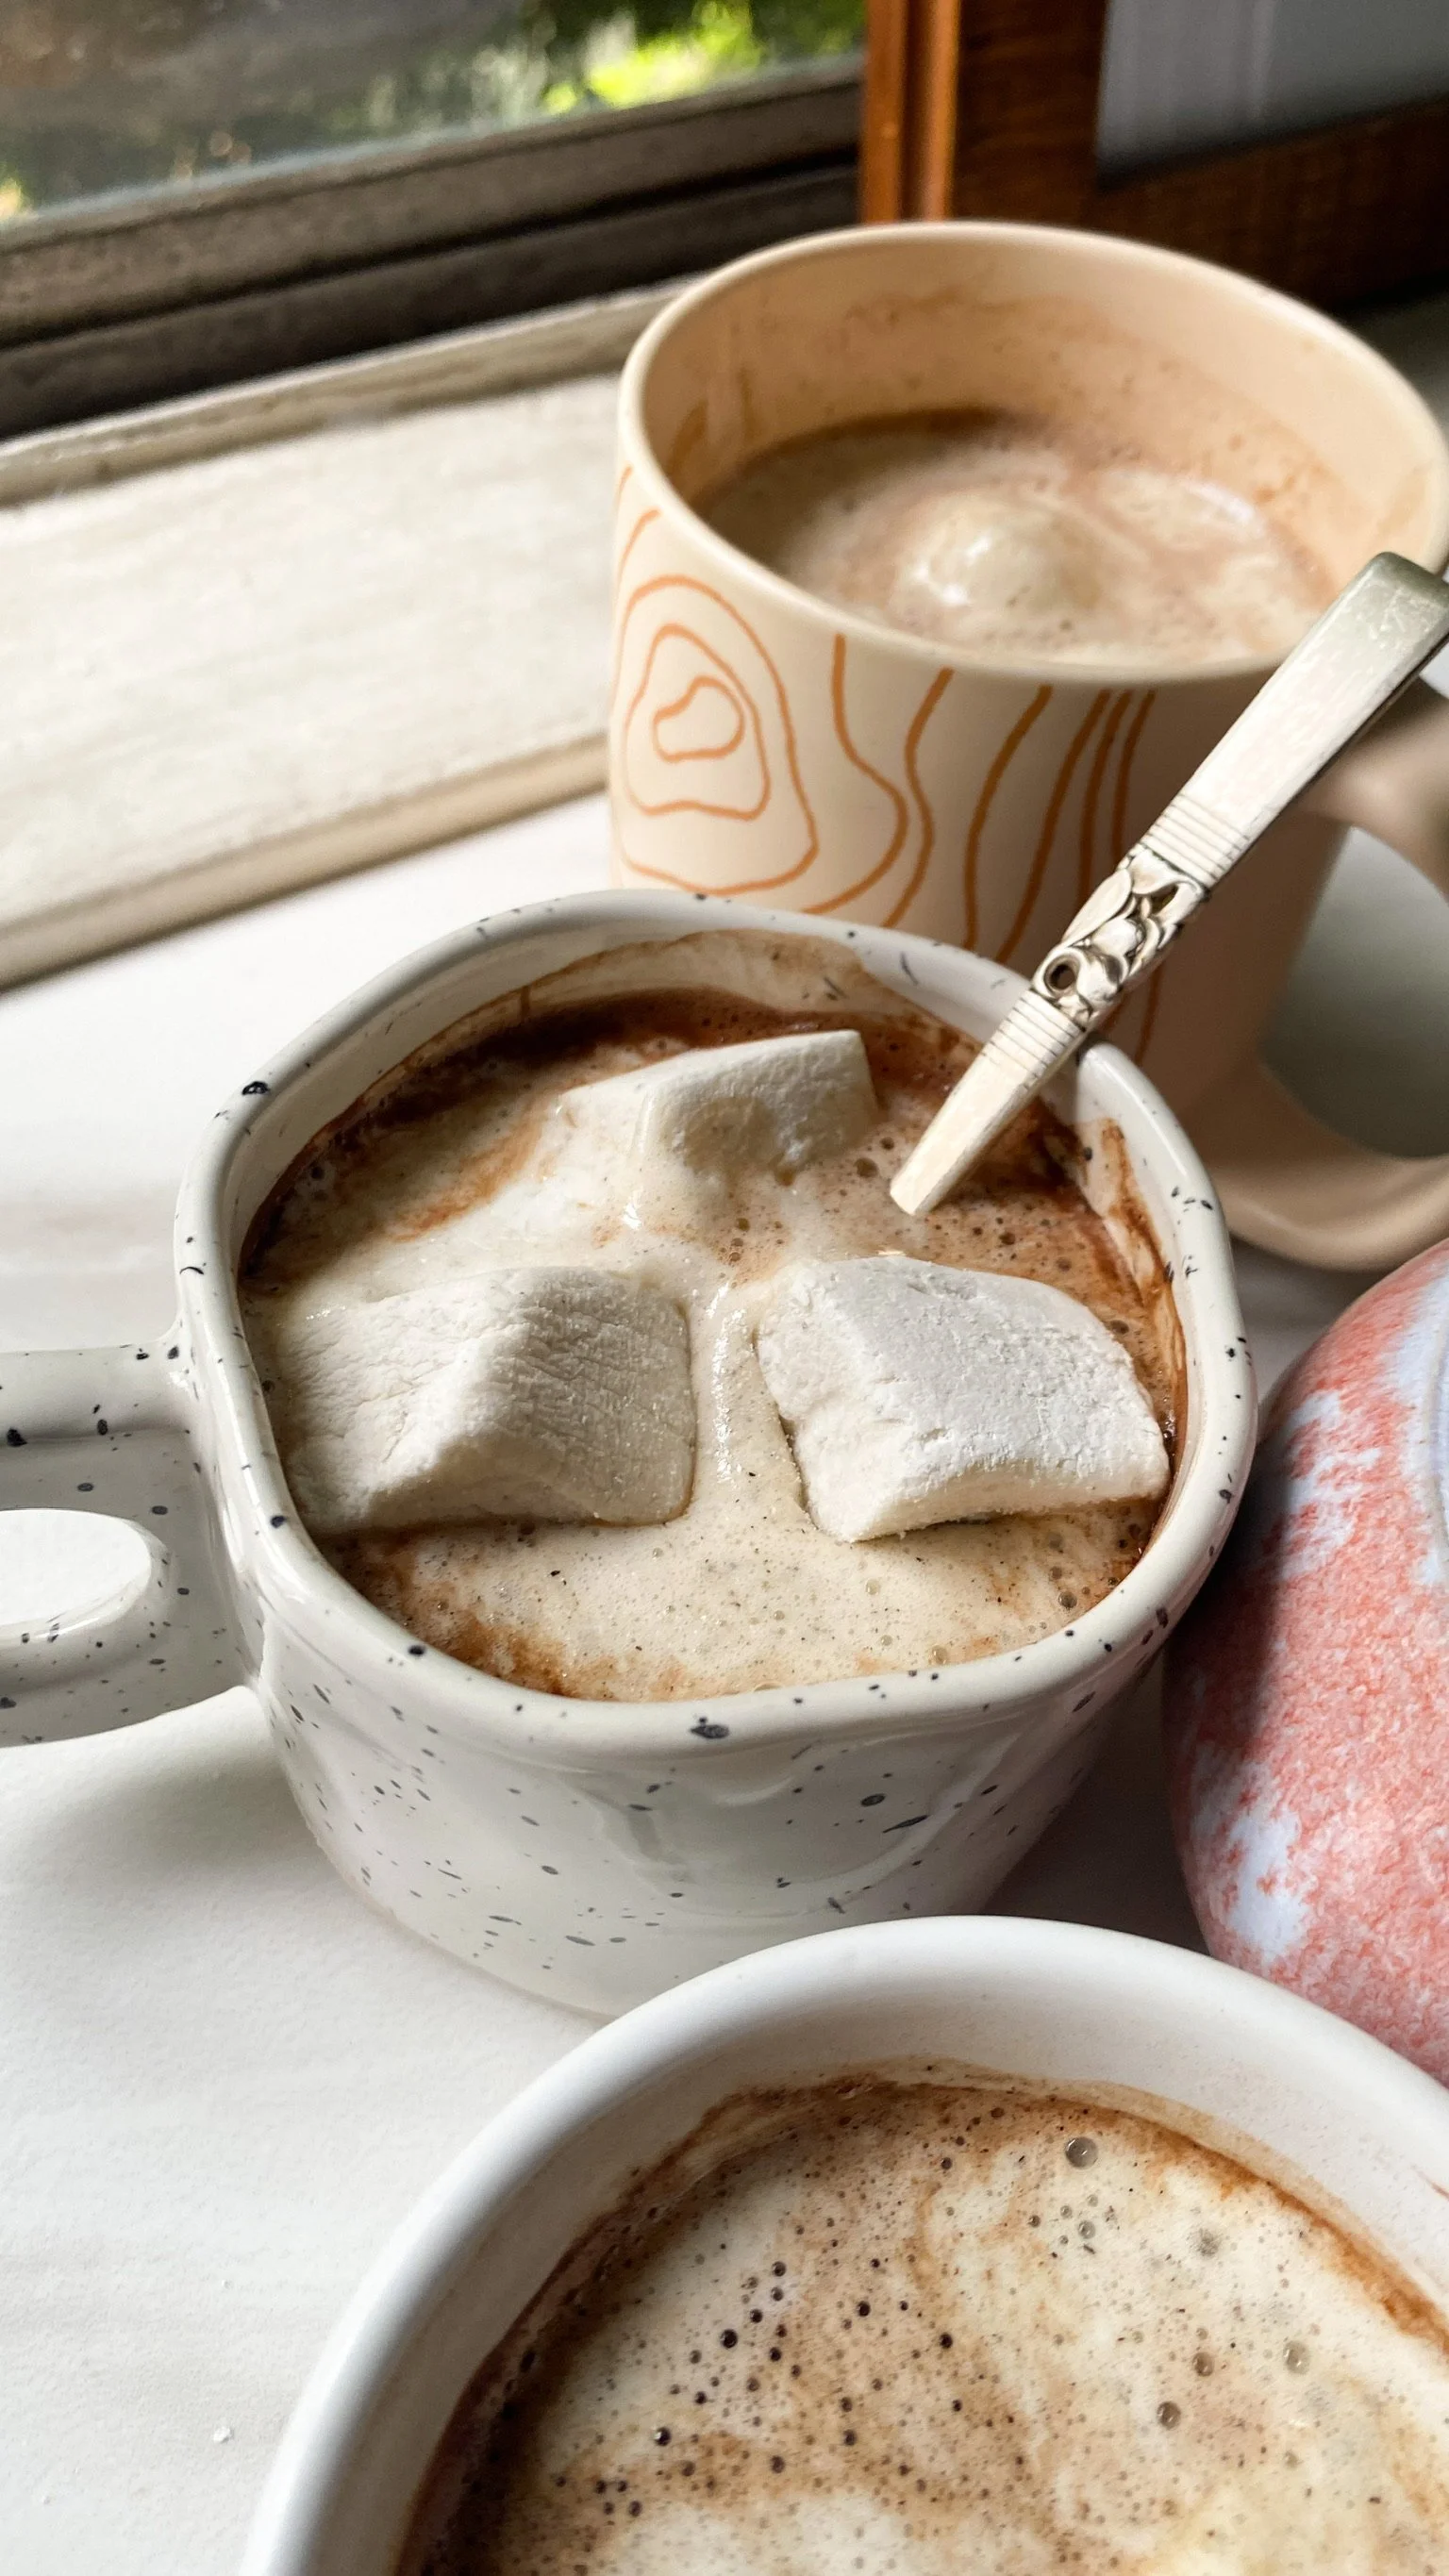
I’m not vegan, so I used honey as the sweetener for my homemade marshmallows, but you can certainly use maple syrup or even agave syrup if you prefer. These fluffy, sweet treats are perfect for sharing, gifting, and dunking into hot cocoa.
So, let's gather our ingredients and embark on this homemade marshmallow journey together!
What do I need to make marshmallows at home?
In terms of ingredients, you don’t need anything fancy for this homemade marshmallow recipe. You only need about four ingredients:
Gelatin is what gives marshmallows their bouncy, pillowy texture. If you’re vegan, there are vegan gelatin alternatives out there like agar agar, however I have not experimented with them. If you choose to use one for your recipe, let me know how it turns out!
Honey was my sweetener of choice, but you can use maple syrup or even agave instead.
Vanilla extract for flavor.
Cornstarch ensures our sticky marshmallows don’t stick to each other.

Do I need any special equipment?
While the ingredients needed to make homemade marshmallows is simple, you will need special equipment in order to make marshmallows at home.
You’re gonna need a candy thermometer for this marshmallow recipe. Don’t attempt this recipe without one!
You’re also going to make your life a whole lot easier by using a stand mixer when it’s time to whip up the marshmallow mixture. My KitchenAid stand mixer is one of my favorite kitchen appliances of all time.
How do I make these homemade marshmallows?
The full recipe on how to make these homemade marshmallows is down below, but here’s the gist of it:
Line a pan with wax paper, and lightly dust the insides with cornstarch.
Add hot water and the gelatin to the bowl of a stand mixer, stirring until the gelatin dissolves.
In a medium pan, combine water, honey, vanilla, and pinch of salt. Clip your candy thermometer to the side of the pan.
Simmer the mixture until it reaches 240F. Immediately remove the pan from heat when this happens.
Slowly pour the sugar mixture into the stand mixer, being careful not to splash it. Beat the mixture for about 10 minutes, until soft peaks begin to form.
Pour the mixture into the prepared pan.
Allow to sit at room temperature for about 4 hours.
Lightly dust the mixture with cornstarch, and cut the marshmallows into squares.
Tips for storage?
Store in an airtight container for up to 1 week.

Homemade Marshmallows
Ingredients
- 3 tbsp unflavored gelatin
- 1 c honey*
- 1 tbsp vanilla extract
- Pinch of salt
- 1/4 c cornstarch, for dusting
Instructions
- Line an 8x8 pan with wax paper, and lightly dust the insides with the cornstarch so the marshmallows won't stick to the paper. Set aside.
- Fit a stand mixer with the whisk attachment. Pour in 1/2 c hot water and the gelatin, stirring them together until the gelatin dissolves.
- In a medium pan over medium heat, combine another 1/2 c water, honey, vanilla, and pinch of salt. Stir together briefly, and let the mixture simmer. Clip your candy thermometer to the side of the pan, making sure the bottom is submerged in the liquid so it can accurately read the temperature.
- Simmer the mixture until it reaches 240F. You can turn up the heat to medium-high or high if you need to, but do this gradually so that the mixture does not pass 240F. Immediately remove the pan from heat when this happens.
- Turn the stand mixer to medium-high, and slowly pour the sugar mixture into the stand mixer, being careful not to splash it. Beat the mixture for about 10 minutes, until soft peaks begin to form. The mixture will transform from a liquid to a soft, fluffy cloud of goodness.
- After 10 minutes, pour the mixture into the 8x8 pan. You may need to gently spread it out to the sides with an offset knife, if needed.
- Allow the mixture to sit at room temperature for about 4 hours.
- Lightly dust the mixture with cornstarch, and cut the marshmallows into squares. Store in an airtight container for up to 1 week.
Notes
*Substitute with maple syrup, if vegan.
Recipe adapted from Sweet Laurel Bakery.


I started salt n sprinkles to show that making good food is both fun and easy to do. My recipes are mostly plant-based, and always delicious. I know you'll find just what you're looking for!