Chocolate Quinoa Crunch Bars
Chocolate Quinoa Crunch Bars
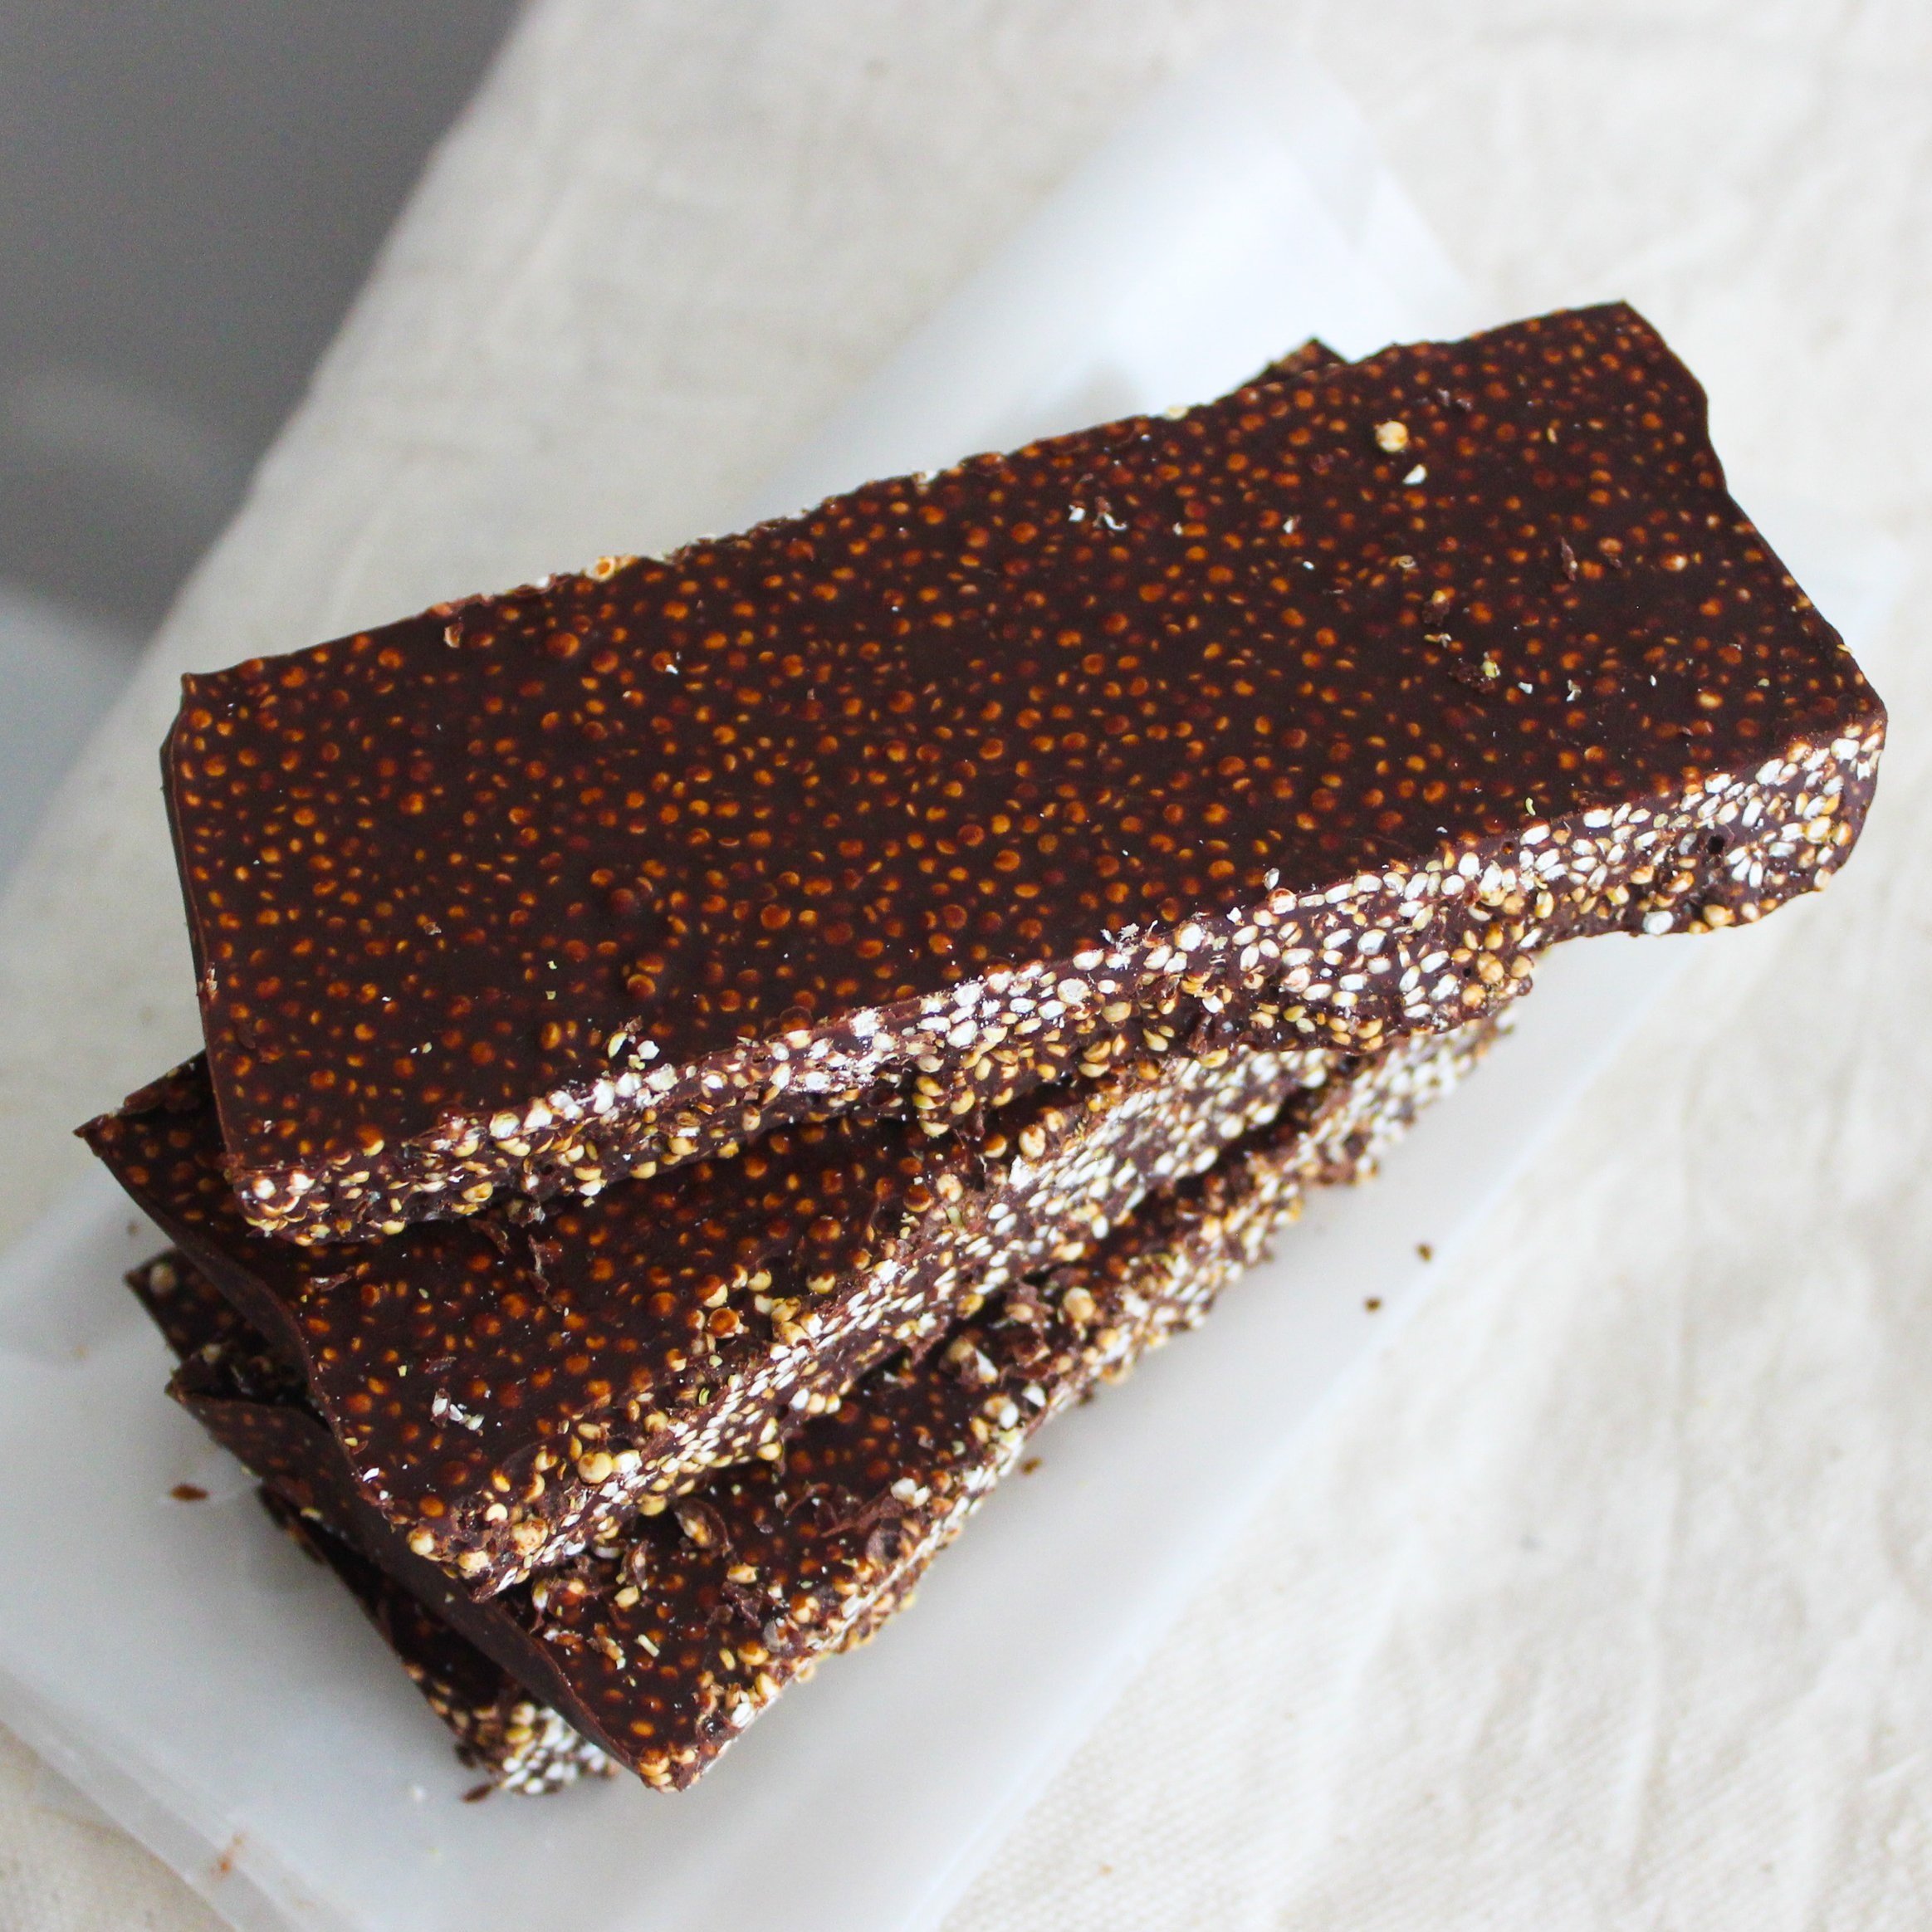
Yes, these quinoa chocolate bars are crunchy. Yes, they’re easy. Yes, they’re delicious!
Note: this blog post contains affiliate links
My chickpea chocolate crunch bars are one of my most popular recipes of all time! Clearly, we’re all in the mood for some crunchy chocolate bar goodness. These chocolate quinoa crunch bars were inspired by that original recipe. I was thinking–what else could be used to make a tasty chocolate Crunch bar? Quinoa, of course! These quinoa chocolate bars are another healthy homemade copycat recipe that comes together in just minutes!
When I was a kid, Nestle Crunch bars were my favorite of the storebought chocolate bars. I haven’t had a Crunch bar in years, and that’s mainly because I’m a big fan of homemade food these days. So, when I’m in the mood for an easy, homemade chocolate bar, instead of driving to the grocery store I reach for these delicious chocolate quinoa crunch bars instead!
Yes, these quinoa chocolate bars are crunchy. Yes, they’re easy. Yes, they’re delicious!
I know the chocolate and quinoa combination may sound odd at first, but trust me on this one! When you toast the quinoa for this recipe, they become crunchy little tidbits reminiscent of those puffed rice pieces in Nestle Crunch bars. But, this copycat version is so much better for you. And just as tasty!
How do you toast quinoa?
Toasting quinoa is key to making these crunchy chocolate bars, well, crunchy!
Originally, I suggested adding raw quinoa to a hot pan to toast, but I’ve found that soaking the quinoa overnight makes it more tender!
So, I recommend soaking your quinoa in water overnight and patting the quinoa dry before adding the quinoa to a hot skillet, and allow it to toast for 2-4 minutes. As the quinoa toasts, you’ll begin to hear little popping sounds just like popcorn! That means the quinoa is getting toasted. It will also start to smell nutty. Be sure to stir the quinoa continuously while it’s toasting so it doesn’t get too brown. We want our quinoa to be toasted, not burned!
What chocolate can I use for these chocolate bars?
I’m a big fan of dark chocolate, but you can use any chocolate that you like! Milk chocolate (or semi-sweet chocolate) would be great for this recipe too, if that’s more your thing. I recommend melting chocolate chips. I used the Lily’s brand for this recipe which I like because it’s also sugar-free!
Why add coconut oil to the chocolate?
You’ll probably notice a lot of recipes call for adding coconut oil to chocolate while melting. That’s because coconut oil helps the chocolate harden, and it also makes it shiny!

How long does this take to make?
Toasting the quinoa and mixing it in with the melted chocolate only takes a few minutes. You will need to freeze these bars for about 1 hour until solid.
How do you store these homemade chocolate bars?
Slice these chocolate bars and store them in a Ziploc bag in the freezer. They will stay fresh for months!

Chocolate Quinoa Crunch Bars
Ingredients
- 1 c quinoa, soaked overnight, drained, and pat dry
- 1 c chocolate chips
- 1 tbsp coconut oil
Instructions
- Line a loaf pan with parchment paper. Set aside.
- Heat a skillet on medium-high heat. You want to get it hot!
- Pour the quinoa into the skillet and allow it to toast, stirring constantly, for about 2-4 minutes. You'll hear the quinoa start to pop (like popcorn), and it will begin to smell nutty. Keep stirring the quinoa until it starts to just slightly brown. Remove from heat before it begins to burn.
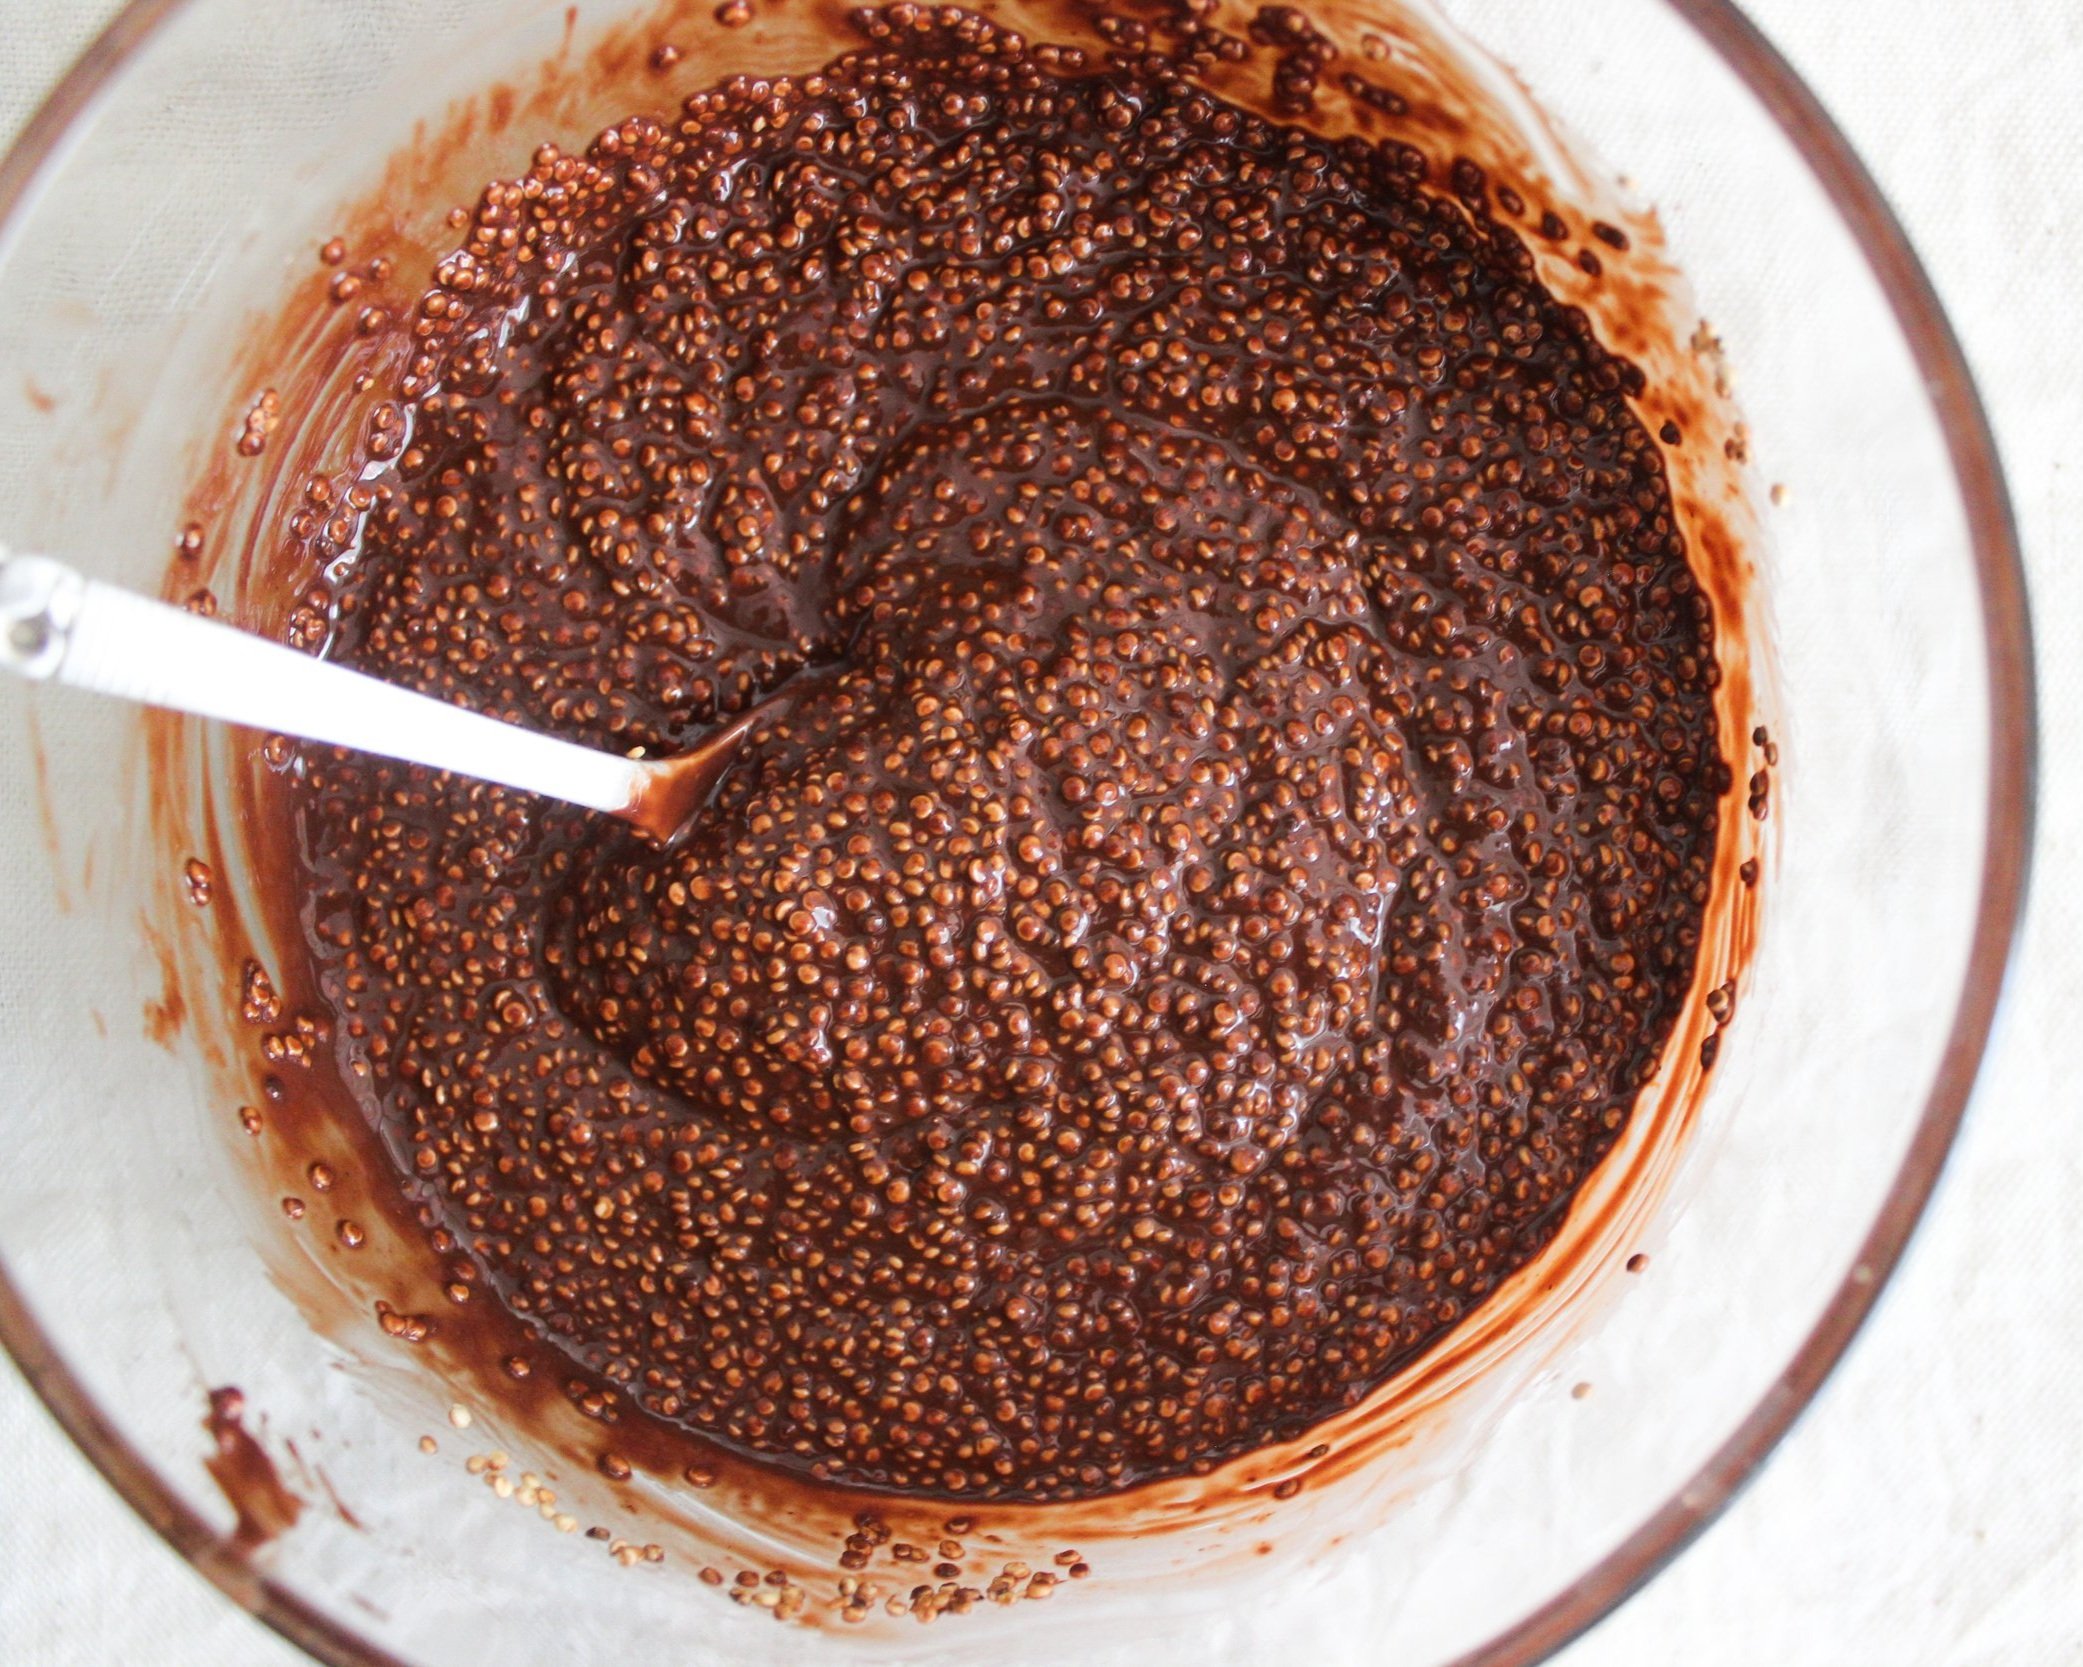
- Melt the chocolate chips and the coconut oil together in a large bowl. I like to do this in the microwave–just melt it at 15s increments, stopping to stir each time.
- Once the chocolate is completely melted, stir in the quinoa until it's evenly coated.
- Pour the chocolate-quinoa mixture into the loaf pan and spread it into an even layer.
- Freeze for 1 hour. Slice into bars and place in a Ziploc bag for long term storage.
Notes


I started salt n sprinkles to show that making good food is both fun and easy to do. My recipes are mostly plant-based, and always delicious. I know you'll find just what you're looking for!