6 Reasons Why Your Dough Didn't Rise
If you’re having trouble getting your dough to rise, these may be the reasons why!

6 Reasons Why Your Dough Didn't Rise
If you’re baking and having an issue with your dough not rising, then this blog post is for you! Below, I tell you exactly why your dough did not rise, and how to prevent dough from not rising in the future.
note: affiliate links are included on this page
6 Reasons Why Your Dough Didn’t Rise:
I’m a baker, and I love it. I’ve been baking for years, but I not-so-fondly remember my early baking days when I would try to bake a bread, or a donut, or a cinnamon roll, and I was disappointed to see that my dough didn’t rise. Not to be defeated, I would go ahead and bake the flat dough anyway hoping that the dough would finish rising in the oven and… it never did. That’s not how dough rising works, unfortunately.
My dough didn’t rise so often that I completely avoided baking any kind of risen dough for years. But one of my baking goals this year was to conquer yeast dough. Now that I know how what makes dough rise and what doesn’t, I’m not afraid of it at all! If you’ve ever faced the problem why you dough didn’t rise, just know you’re not alone. Check out these tips to see how you can ensure perfect proofing in the future:
1. The yeast was old.
Sadly, sometimes when you buy a packet of yeast at the grocery store, the yeast may already be old or too weak to provide a proper rise. I’ve tested a lot of brands, and the most reliable is definitely Saf-Instant Yeast! I’ve never had trouble with my yeast rising after I started using Saf Instant Yeast. I keep it in the fridge after opening, which extends the shelf life. Regardless, it’s always best to use fresh yeast that you’ve either bought recently or refrigerated. Yeast can last in your pantry for about four to six months, and if you don’t bake often you may have some old yeast hanging around that’s no longer active. This is why you always have to test your yeast first and check it for activity before proceeding with your recipe.
2. You didn't test your yeast before using it.
This was by far my biggest mistake when I first tried to bake with yeast. I was impatient. When my yeast didn’t bubble, I would just proceed anyway thinking that it would still work (spoiler: it never worked). So, learn from my mistake and make sure you always follow these steps when you’re ready to bake with yeast: measure out the warm water (or milk) in your recipe and pour into a bowl. Stir in the yeast and add a pinch of sugar, and let it sit for about 10 minutes. Your yeast should be foamy and smell bread-y. If it does not foam and does not smell bread-y toss it out and test another packet of yeast. It’s always a good idea to buy more yeast than you need just in case it ends up being a dud!

3. The liquid was too hot, or not hot enough.
Active dry yeast recipes will always tell you to dissolve the yeast in a warm liquid (water or sometimes milk) before using. It will usually tell you to use “warm” water. The water temperature should be between 110 - 115 F degrees. If your liquid is too hot (i.e. boiling) it will kill the yeast and prevent the rise. If it’s not hot enough, the yeast won’t have the heat needed to bloom. Use a thermometer to measure the liquid’s temperature before using.
4. The yeast touched salt.
This is a weird tip that I only learned only recently, but make sure your yeast doesn’t come in direct contact with salt while you’re pouring it into your recipe! This is more relevant for instant yeast, which you mix into your flour directly and doesn’t get mixed into a warm liquid first. While you’re adding in the dry ingredients, make sure you pour the yeast into one side of the bowl, and the salt into the other side of the bowl. The salt can suck the moisture out of the yeast and keep the yeast from blooming if they touch. Apparently this doesn’t happen often, but better to be safe than to be stuck with dough that doesn’t rise!

5. The dough didn’t rise in a warm place.
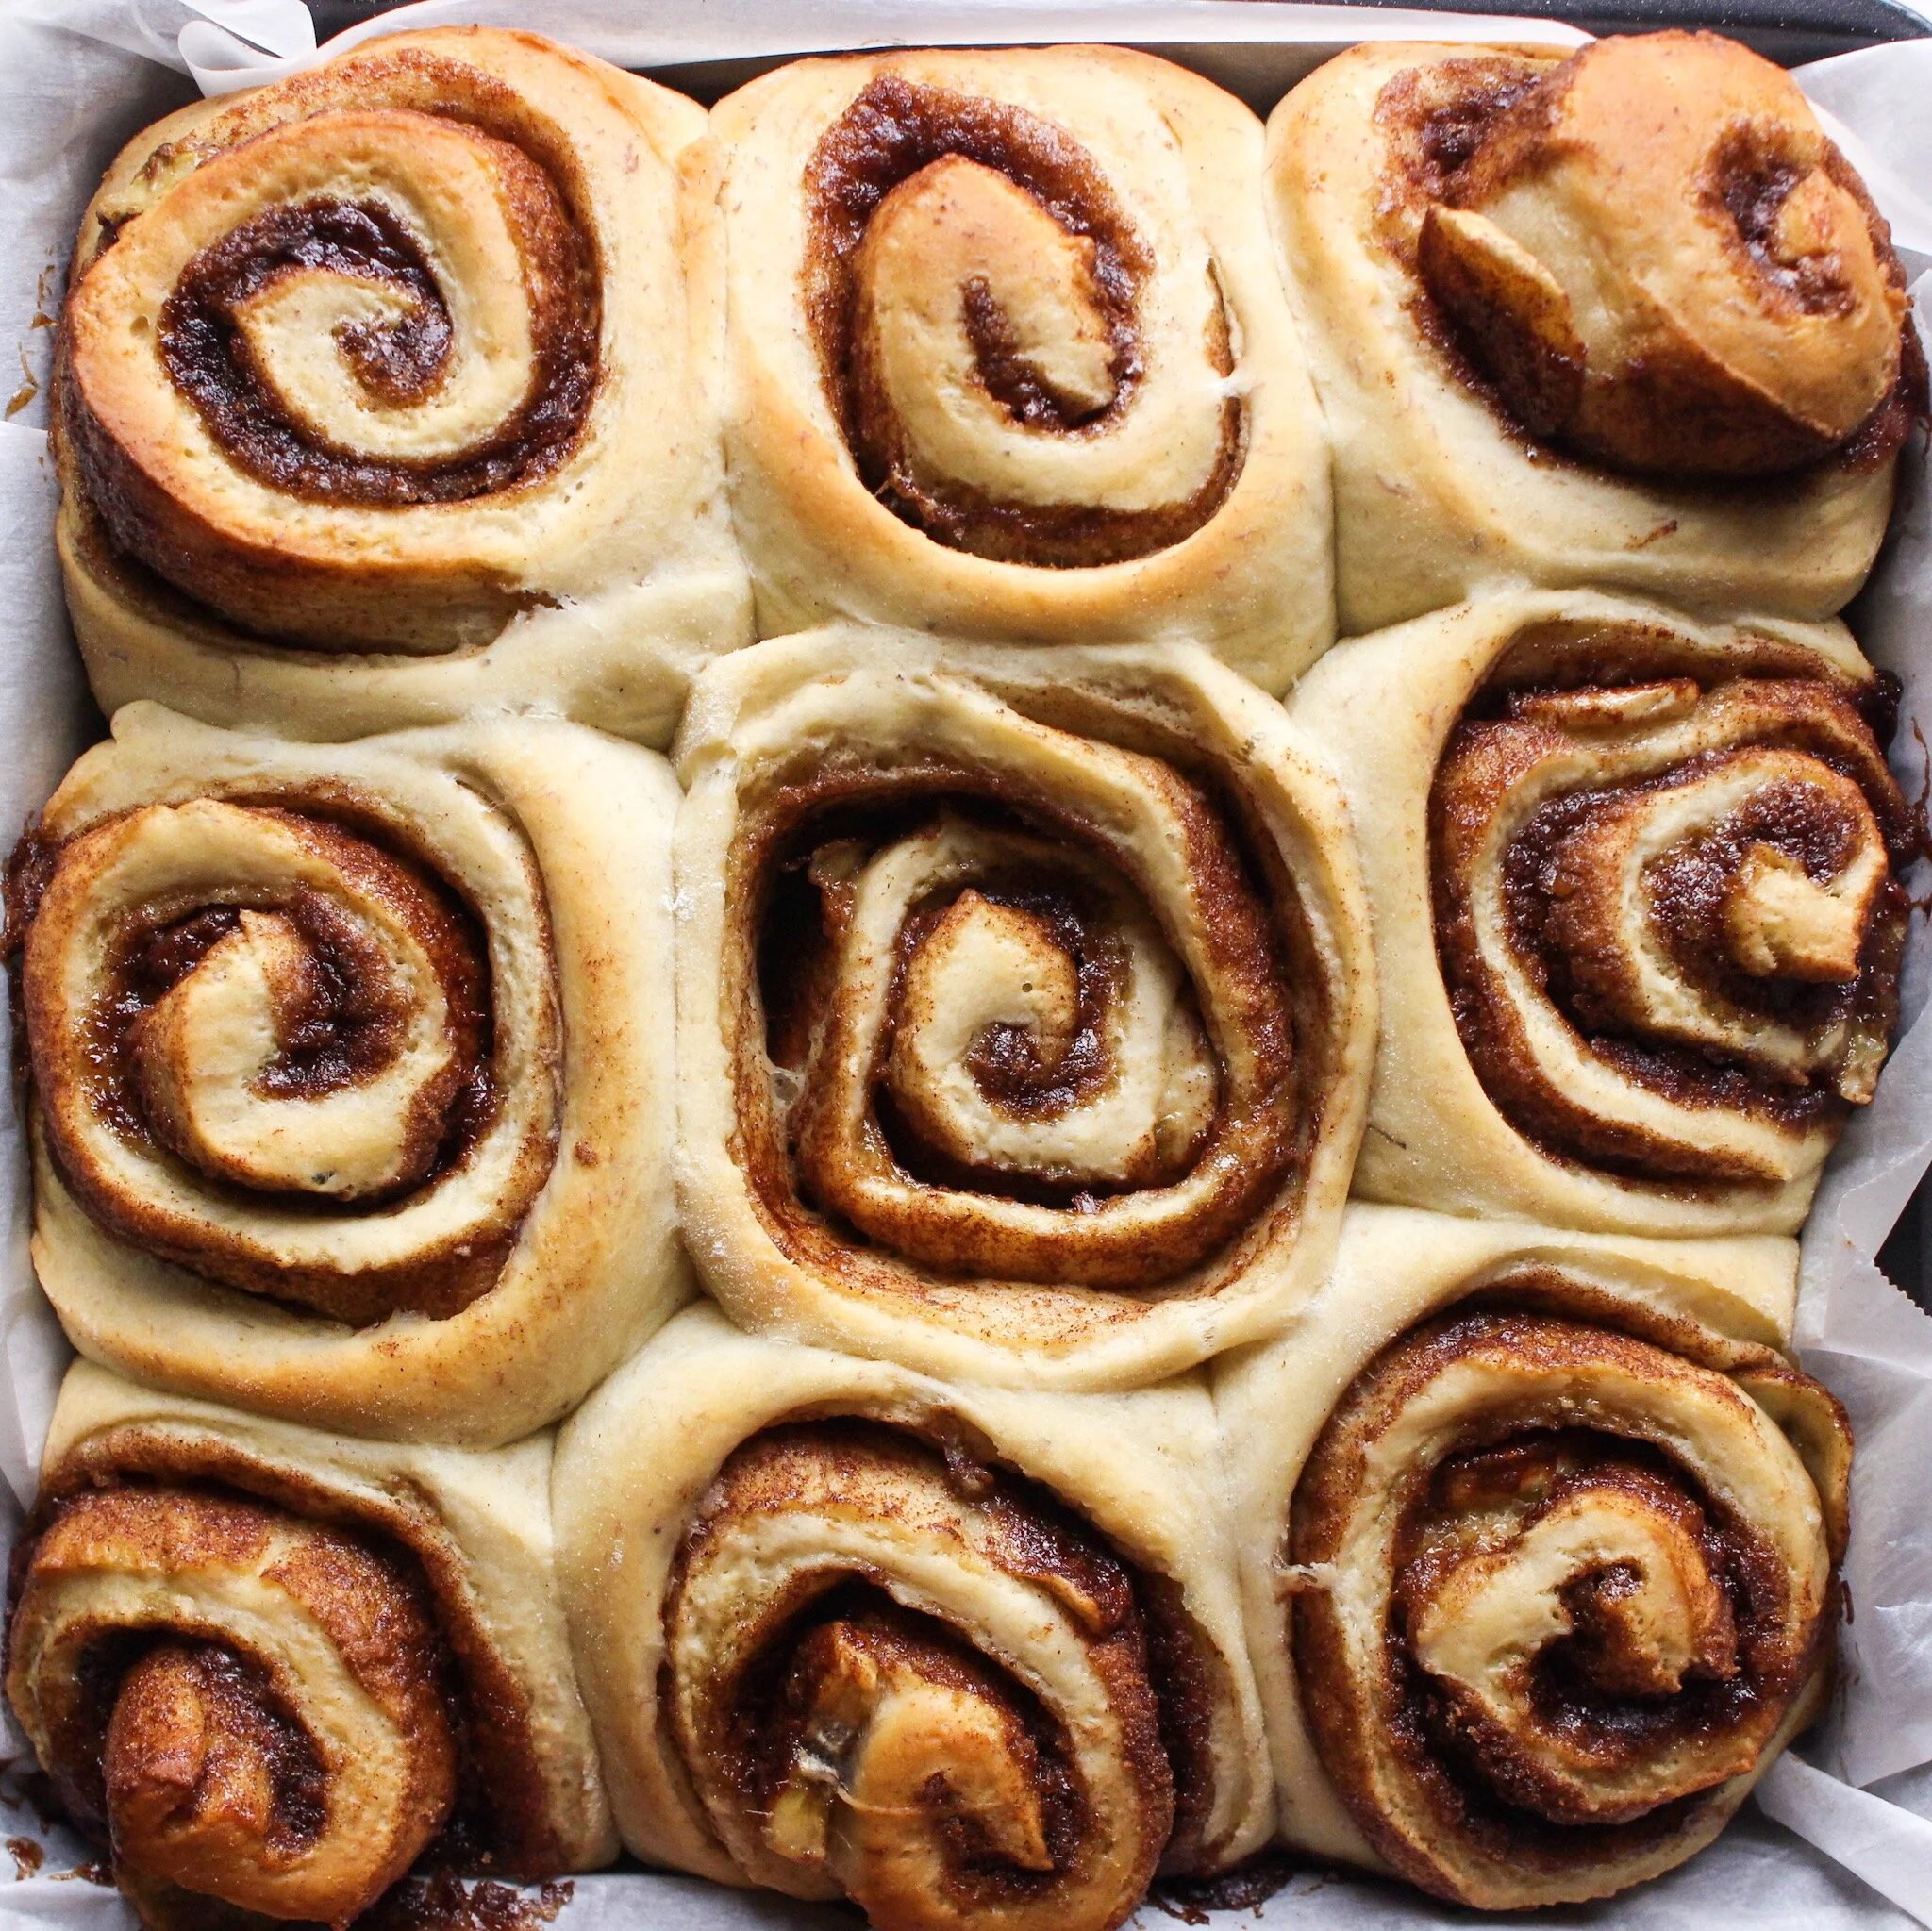
Most risen dough recipes call for the dough to rise on the counter, or in the fridge. When the dough is in the fridge, this is considered to be a slow rise, and typically is done overnight. When the dough is rising on the counter, the proofing time is typically around an hour, where the dough will typically double in size. Make sure the dough is in a warm place on the counter while it’s proofing, and not in a cold spot or near a draft. Yeast thrives in warm, moist places . I find my oven to be a good spot (with the temperature turned off)! I also find that my dough rises quickest during the summer since my home is naturally a bit warmer, while it takes much longer during colder months. So, find a warm spot in your home and let it be your official dough rising spot from here on out. If it’s colder in your kitchen, it may take as long as two hours to get your dough to rise, and that’s ok! Just be patient and allow it to take its time.
6. You didn’t grease your bowl or plastic wrap before rising.
This is another tip I used to gloss over in my early baking days, but make sure you grease whatever bowl or pan you are rising your dough in, and to grease the plastic wrap that you’re using to cover it. As the dough rises, it can stick to the bowl and plastic wrap and tear instead of rising. It’s a simple thing, but can make a big difference when it’s time to proof your dough.
Happy baking! Do you have any questions or tips for getting your dough to rise? Comment below!